-
 installation in 4 easy steps
 -
 STEP 1Layout and arrange all units then place rodding units
and outlets into the correct positionsEnsure any expansion joint assemblies are situated
correctly with rodding units at 20m intervals -
 STEP 2Install the expansion joint assembly first,
matching the centre of the unit to the centre of the joint -
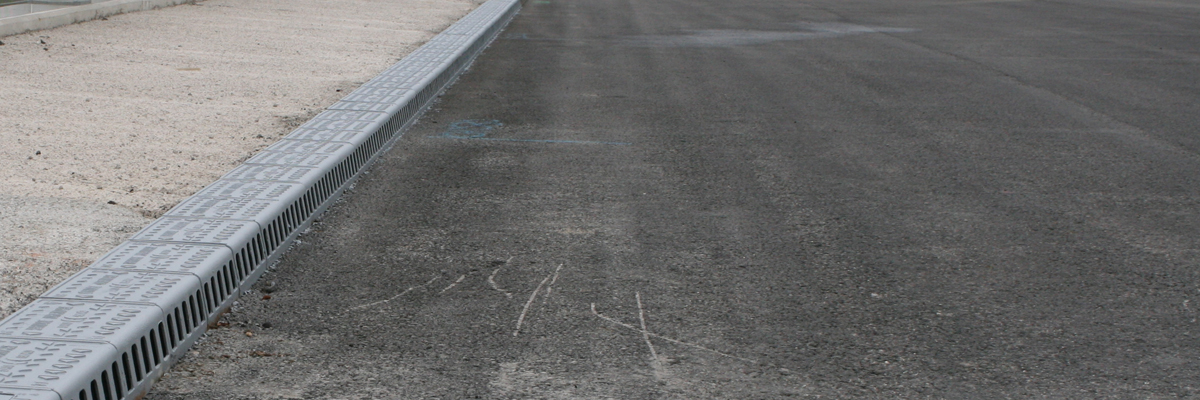
 STEP 3Install to a line and level ensuring
the high point of a fall is maintained -
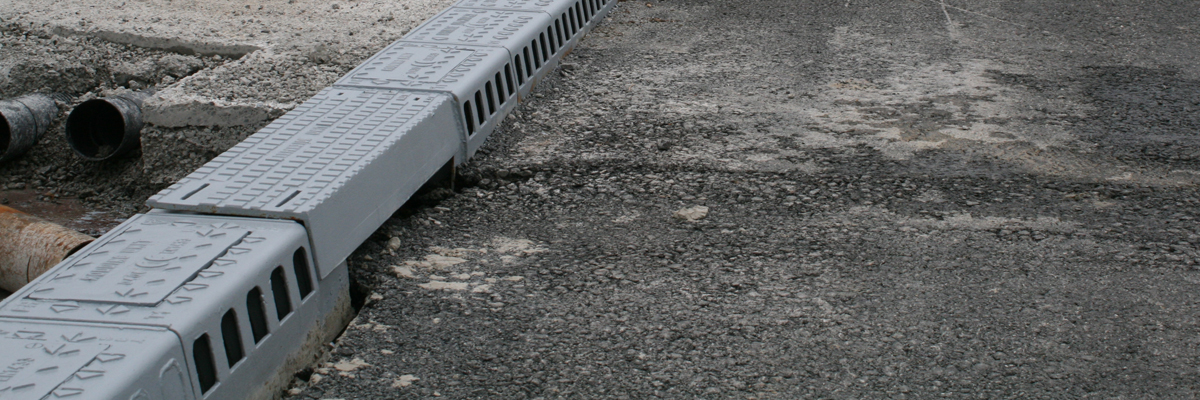
 STEP 4Apply sealant to one end of each unit directly before laying
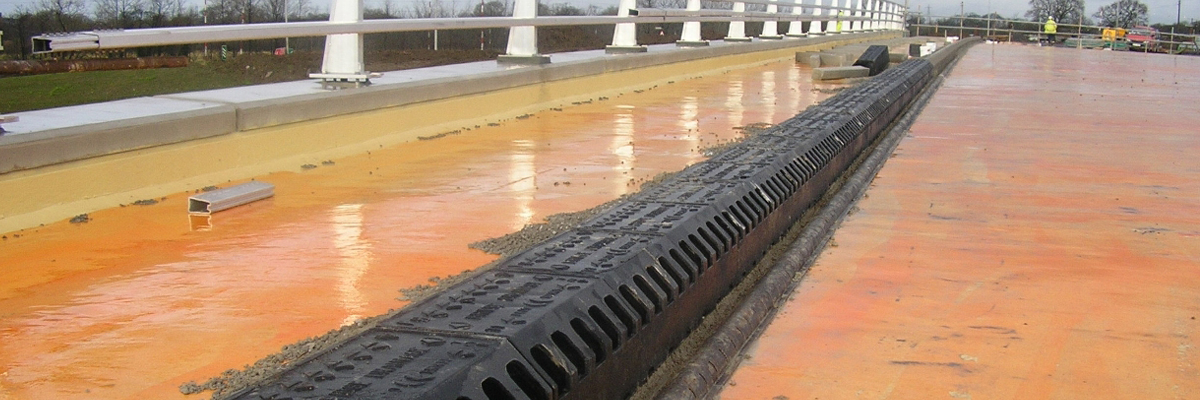
Installation
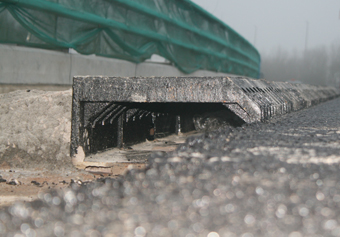
Straightforward to Install
FastFlow bridge drainage units are straightforward to install, simply lay on standard bedding mortar and install. There is no requirement for the contractor to ensure the product is installed to specific criteria to maintain compliance. A Type I unit can be laid in conjunction with standard parapet and surfacing materials as per your design and build.
- Layout and arrange all units prior to installation and position rodding units and outlet units in the correct positions. Ensure any expansion joint assemblies are situated correctly.
- Install the expansion joint assembly first.
- Install to a line and level using 8mm - 10mm bedding mortar, ensuring the high point of the fall is maintained.
- Apply a 6mm - 8mm bead of sealant to one end of each unit directly before laying.
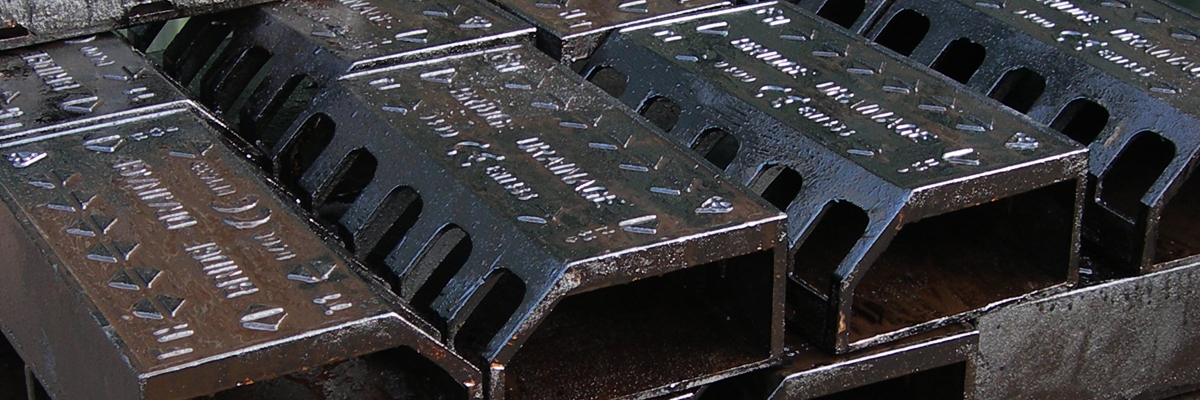
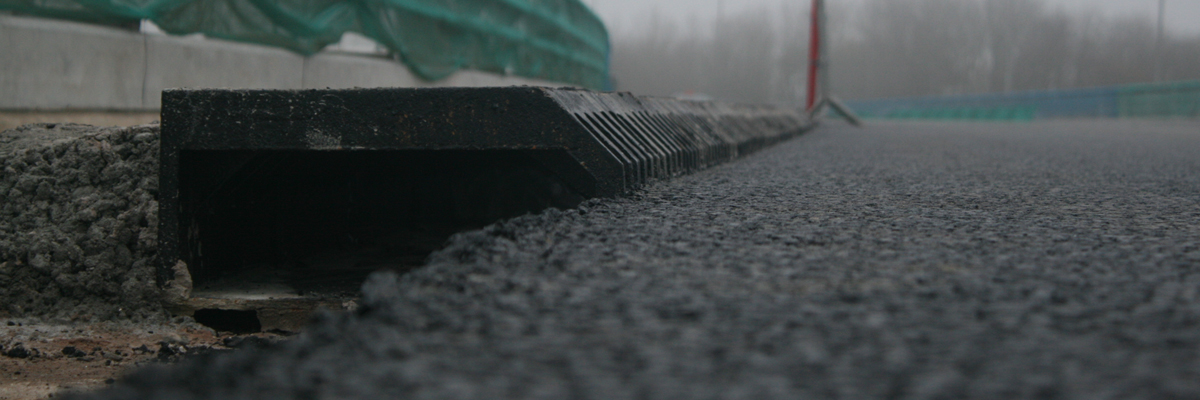
FastFlow is produced in a single piece for easy handling and installation; all units are supplied either as cast or with an eco friendly coating. The product is despatched from our premises direct to site or to the customer's specified location.
FastFlow is supplied packaged on robust pallets wrapped and banded for safe transportation and subsequent storage